

Quilt Making 101: How to Bind a Quilt
Quilting Making 101: Episode Three
Step One
Gather all your materials and find a nice flat and clean surface to work on. Trim any extra backing or batting on the outside perimeter of your quilt. No need to cut off too much, you mostly want to make sure the edges of your quilt are as straight as possible!

Step Two
Measure the perimeter of your quilt and add 12 inches extra, this will make up the total length you’ll need for your binding. You can either cut your binding strips on the bias, or use the selvage, I prefer the selvage since it uses less fabric. For my quilts, I normally use 3 1/2 - 4” wide strips, for double fold binding.


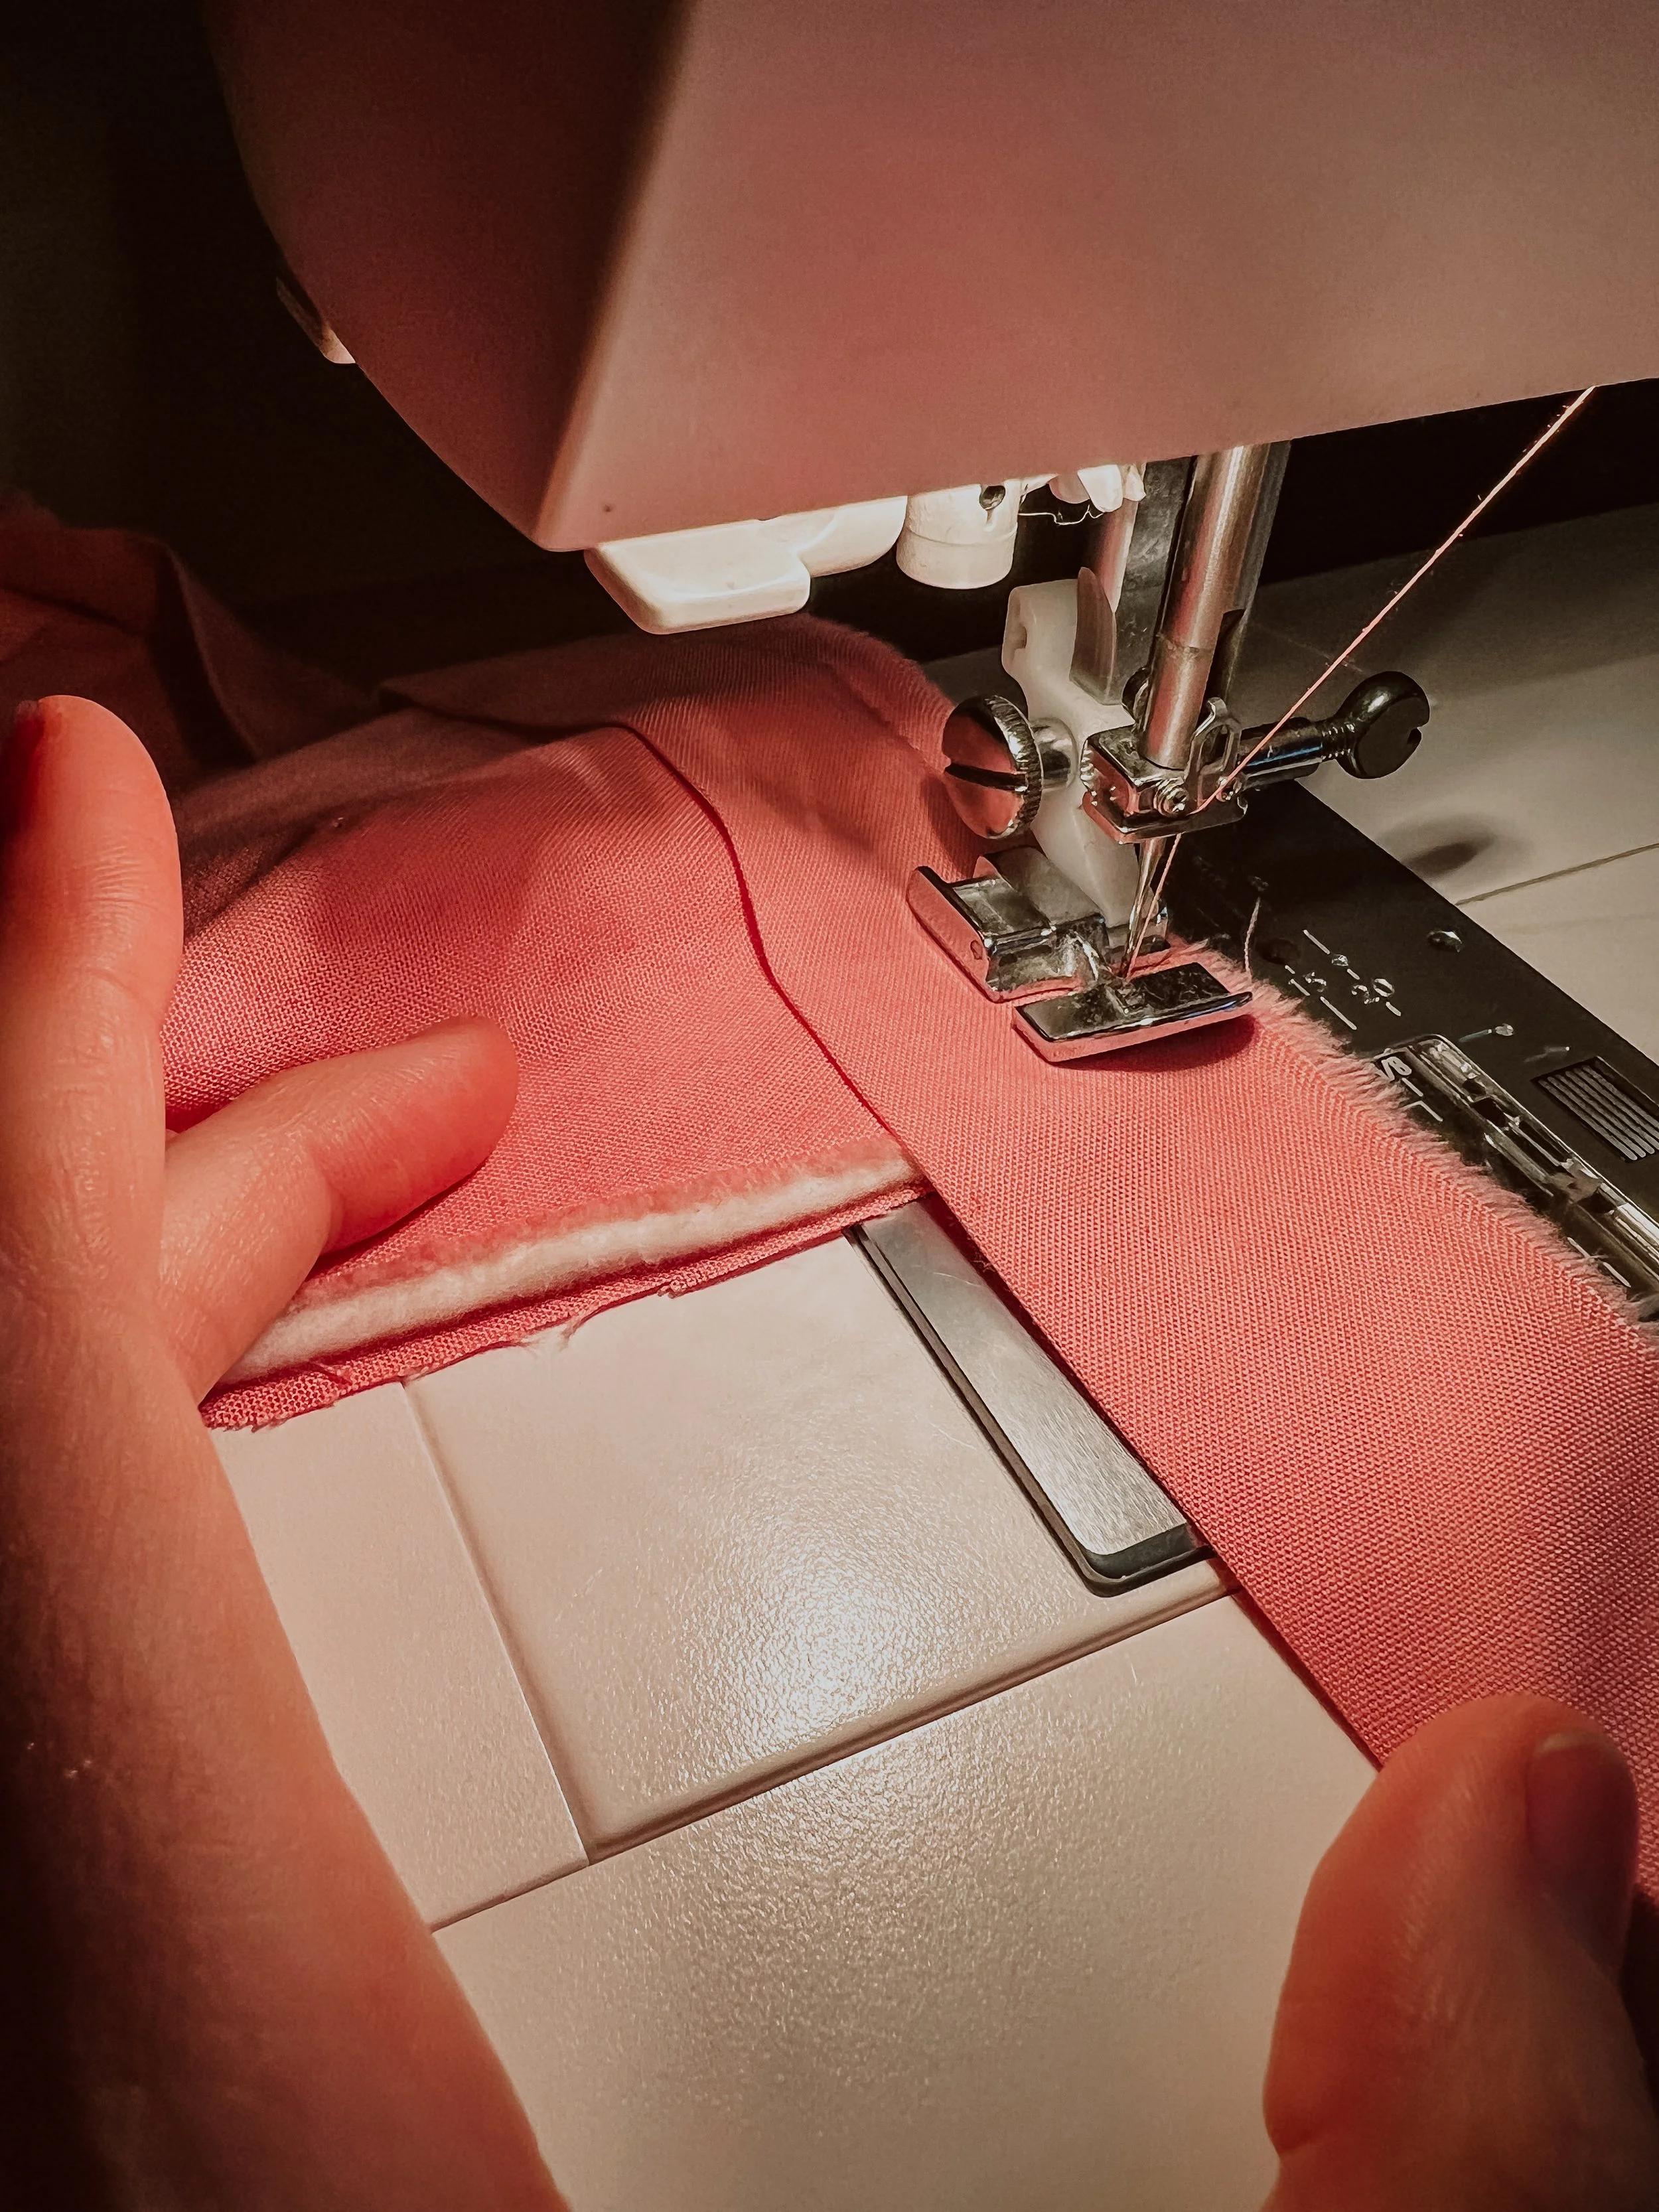
Step Three
You want your strips to be one continuous strip. Place two strips perpendicular to each other with right sides together as shown below.

Step Four
Sew the strips together on the dotted line, as shown below and trim to 1/4” as seen below.


Step Five
Repeat this step until all of your strips have been sewn into one continuous strip. Don’t forget to press all your seams open!

Step Six
Once you’ve pressed all your seams open, fold the long strip in half with raw edges and wrong sides together. Press the length of your binding. Once you’ve pressed your binding in half, choose one of your ends and create the pocket your other end will sit in once you finish your quilt. Open your binding and create a angle as seen below in the photos and press to create a pocket.


Step Seven
Now you’re ready to add your binding to your quilt!
Start along the middle, of one of your quilt sides and place the raw edge of your binding to the raw edge of the front of your quilt. Keeping the raw edges of the binding and the quilt lined up, begin pinning the binding to the quilt top. Once you get to the end, leave about a foot of extra binding un-pinned (seen below).


Step Eight
You can now begin to sew your binding onto your quilt! When you start, with a 1/4” seam allowance, open the fold and sew one binding edge down for about 5”, then stop, and remove your needle, flattening both edges of the binding to the quilt and continuing to sew. You’ve now created a pocket for your end piece to join later! See below:


Step Nine
Once you’re about an inch away from the corner of your quilt, you’ll want to begin making your mitered corner.
Fold the binding strip up and press gently with your iron as seen in the photos below. Fold the binding strip down over itself perpendicular to the seam, keeping the raw edges lined up to the edge of the quilt. Pin the binding to the quilt and begin sewing and proceed to do all 4 corners this way as you reach them.


Step Ten
Once you are nearly back to the point where you began, make sure there are about 5” overlap with the other end as seen below. Open the loose end and fold it under on a 45 degree angle (triangle) and press, then fold in half again and press again, as seen below. This will allow the binding edge to fit naturally into the other end of the quilt binding.


Step Eleven
Finish pinning the raw edges of the binding to the edges of the quilt all the way to the end. Tuck the folded end into the pocket you created in the beginning and pin. Continue to sew along the edge of the binding until you get the end as seen below.


Step Twelve
Turn over the quilt, with the back facing up and iron the binding over from the front to the back of the quilt. I like a bit more of an edge on my quilts, so I try to get the binding to sit equal parts on the front and the back of the quilt.
Step Thirteen
Begin pinning the folded edge of the binding to the quilt. Once you get to the corners, again you’ll want to do a mitered corner. Press with your finger the side edge up to a 45 degree angle and press the top edge over the top of the other edge as shown below.

Step Fourteen
Once everything is pinned and pressed down, you have 2 options on how to complete the quilt.
Option 1: Machine quilting
If you choose this option, you’ll stitch down the binding 1/4” from the edge of the binding
Option 2: Hand stitching
There are many different ways to hand stitch your binding, but I prefer to make my stitches more visible, looks neat. Make sure your stitches do not go through the to the other side of the quilt. The idea is that these stitches are hidden and choose a thread color that matches the fabric color.
Step Fifteen
Once you’re done with your binding make sure to press the whole quilt to remove any wrinkles from the process. You’re officially done with your quilt! Woohoo!
